Niceman's Guide to Live-Action Alters Pt.2
OK! Let's alter a pic!!
For this alter I've selected the picture below:

The girl is in a good pose, and though her face is not seen one gets the impression that she is in the throes of orgasm. There are several ways to alter this picture. First of all, I use PHOTOSHOP. If you're not, I suggest you do. It's a wonderful program that makes things so much easier. Please also note that I use a Macintosh computer. While this is by no means required it is none the less what I am familiar with. Therefore, this tutorial is using the Macintosh interface. For the most part there will be no differences, but PC users will notice a few commands have changed. Still this basic overview should take care of everyone.
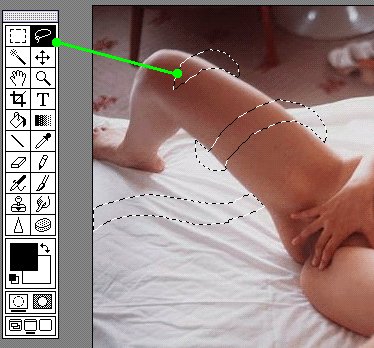
The creation of a tentacle is actually very easy.
Using the Lasso tool, I will trace out the tentacle. Make sure you start with the ones you want in the background first. That way you can alter the foreground tentacles in with a minimum of fuss. Once you have them traced it's time to fill them. Here's my secret. I have a wide selection of animal skin textures that I like to choose from. My favorites are toad, octopus, and elephant. For this alter, however I've chosen a source you might find familiar.
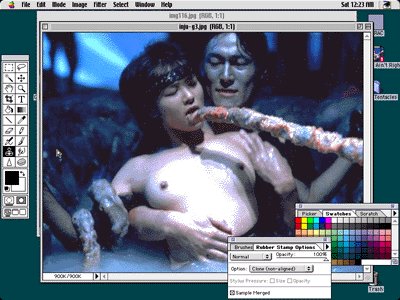
Yep, you guessed it. A screen capture from the Live-Action La Blue Girl movie. I figured, if their tentacles are good enough for film they are good enough for my art. Here's how I do it. Using the rubber stamp tool (the one in black on the toolbar) I will select a section of the tentacle that is ravaging the luscious Miko Mido (played by Saya Hidaka) above.
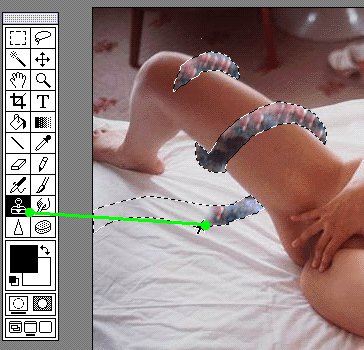
Then switching back to the picture we're working on I will stamp in the texture inside the selected area as shown here.
Once you have the selected area filled there are a few things to take care of to make it look good. First of all, take note of the picture below.
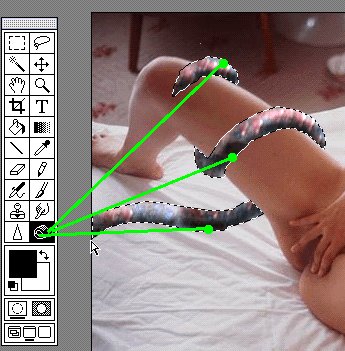
While the tentacle is still selected, using the Dodge/Burn tool take note of where the light is coming from in the picture and lighten and darken the tentacle accordingly. This will ad depth to the tentacle and make it look like more three dimensional. After that is done, next to the Dodge/Burn tool is the Sharpen/Blur tool. Select Blur and trace the edges of your tentacle. This will blend your tentacle into the picture and keep it from looking like it was spliced in.
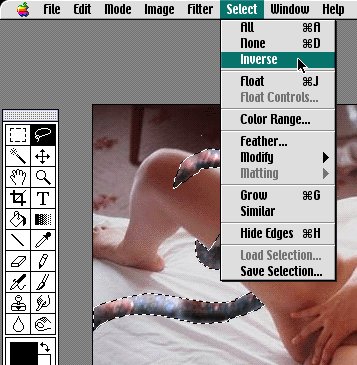
Now, as shown here, select INVERSE under the select menu. Everything but the tentacle is now selected. Take your Burn tool and trace a soft line near the tentacle. This will develop a shadow for the tentacle as shown below.
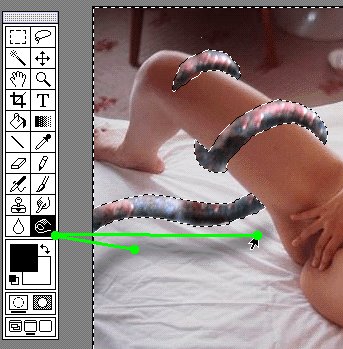
Lather, rinse, and repeat these steps for each tentacle you want in your picture, remembering to work from background to foreground.
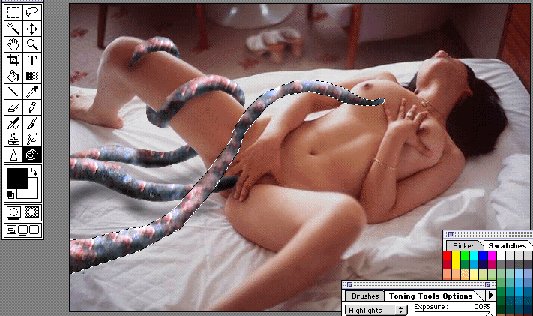
Here some more tentacles have been added to the mix.
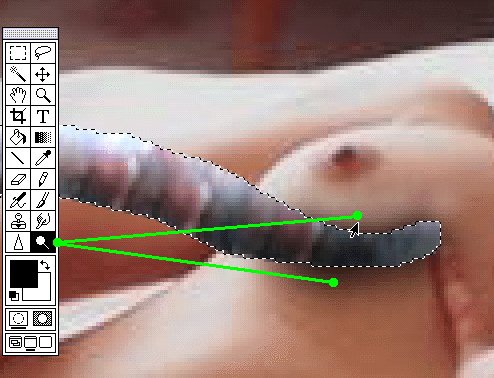
Finally, here is a little touch that will add realism to your picture and it will make all the difference. Using the dodge and burn tool, darken lightly around the tentacle where it touches skin. Then, lighten slightly just outside where you darkened. Try this: Take your finger and press down on your arm. See how it's dark right around your finger but lighter than normal around it. The use of Dodge and Burn in this manner mimics something pressing down on skin.
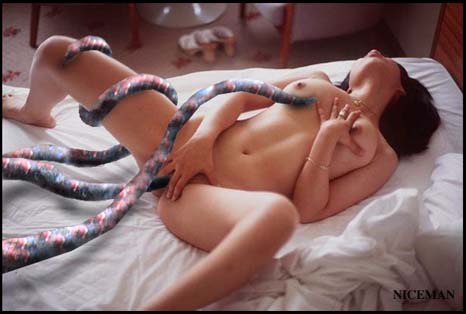
As you can see, the finished product has realistic shadows and textures. If you practice these basic steps in no time will you be creating all sorts of wonderful alters.
Thank you for your interest in how I create my alters. I'm looking forward to seeing your own creations! If you have any questions, feel free to contact me.
For another excellent on-line tutorial on the use of Photoshop try a visit to this site.